Showing posts with label furniture. Show all posts

Friday, October 7, 2011

Hi friends!

I need to finish some projects!  I seriously have at least 20 that I'm "working on" that I can't wait to show you.

So for now, I'm just going to share a little children's rocking chair that I helped a friend with (umm, a year ago!?).  She is an awesome photographer and is always on the lookout for different props.  We found this at a local antique/consignment shop for a great deal!  I think we were so excited to begin working on it that we forgot to take a before picture! oops.

She wanted to go for something fun and bright.  Of course yellow was the answer! 


I toned it down just a bit by adding some black glaze, which also makes it look more like an antique.  I love the final product, and it looks great in pictures! See?


Now I need to find a little rocking chair for myself {by myself I mean my daughter}! 

Happy Friday!

Tuesday, September 20, 2011

Biggest Project of my Life

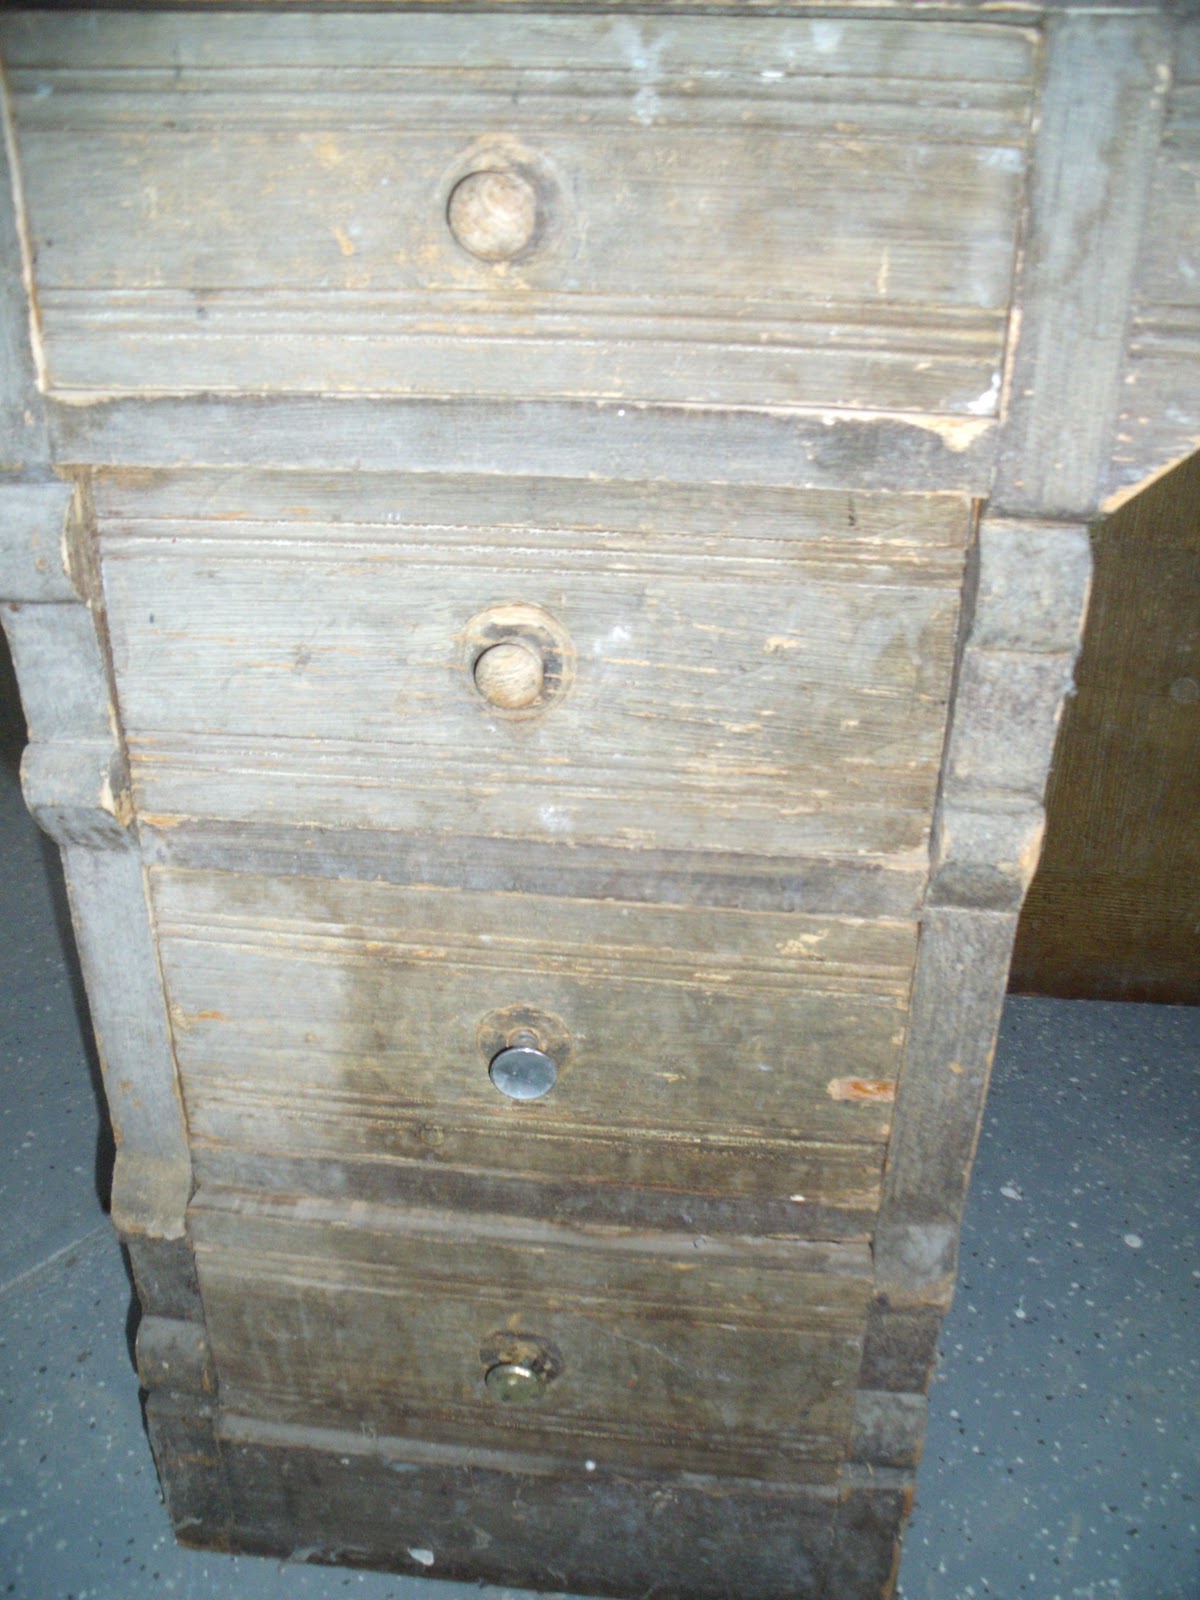
Last winter, I noticed a big cylinder desk with a bookshelf in my grandma's backyard in her semi-covered shed.  I expressed some interest and she was happy to let me have it.  I immediately went over with my dad (in the snow) to collect it.  I wish I would have taken a picture of the desk where it was in the shed.  It was full of junk my grandma's stuff. Dusty, dirty, peeling, cracking finish, weathered and worn out.  This baby was DAMAGED!

It sat in my dad's garage for a few months the rest of the winter and during the summer while I was away.  I have been furiously working on it a couple times each week so I can complete it before winter gets here. 

If the average person would have come across this desk I'm sure they wouldn't give it a second glance.  But this desk has extreme value to me; it is an heirloom and belonged to my great-great-grandfather (at least that's the last person we know it belonged to).  My dad remembers it being in his grandfather's house as a boy and he and his cousin were convinced that it had a secret hidden compartment and always tried to find it.  (We have yet to find one) I don't know who built this desk, but it was done by hand with extreme craftsmanship and building quality.  This baby is a true antique built of pine, square nails and devotion.  Did it come from the 18th century? The 19th century? I so wish that I knew more information about this desk and where it came from or who built it.  Part of me wants to believe that it was my own ancestor that built it by hand and worked on it so feverishly. 

This desk is three separate pieces with a bookcase on top.  Here are some pictures:


Square nail

Bookcase


 Despite how old and haggered this desk is, the slider roll-top is soooo SMOOTH and works so well.


As you can see, I have taken on a HUGE project.  Quite possibly the biggest project of my life.  I doubt I will ever work on anything this old again.  I'm glad I have done other projects to somewhat prepare me for this!  So far, it has been amazing and I have made quite a bit of progress.  I am working on stripping it and sanding it.  The wood grain was actually painted on, so there are layers and layers of paint on this thing!  I plan to stain the desk, possibly a classy, dark walnut; I can't cover up this antique with paint.  Hopefully desk will live on for generations to come and won't need to be refinished ever again!

If you by chance know where I can find more information on this desk, please let me know!  I have spent a lot of time searching and haven't found much. 

More updates to come soon!

Monday, August 1, 2011

Side Table Save

This side table is one of my great Craigslist finds before moving from Las Vegas.
I bought it because I fell in love with the detailed scroll carvings; however, the green/gold just wasn't me.
Here's some before pictures:
 Look at the details!
 The handles on this piece were the same greeny-gold color.
Sorry, no picture.
There was glass built in over the top.
It was somewhat scary to get it out.  We had to break it (my best friend ended up smashing it with a hammer)
Then we carefully took all the pieces out.
I think there was only one minor cut in the process (my friend's finger)
I took the hose on the vacuum and sucked all the remaining little tiny pieces of glass out of the nooks and crannies. 


I debated FOREVER about what color to paint this and whether to keep it 2-toned.
I finally decided on a classic white all over.

Since this piece was in great condition, the only prep work I did was:
1) break the glass and remove it
2) remove the handles
3) wipe it down with a damp rag

Normally, I would take off the door and paint it separately...I gave the job to my trusty husband.
Apparently the screws on the door were completely striped, so he got one of the hinges off, but the other one wasn't budging. (that's why the door looks crooked in the pictures, it only has the bottom hinge on)

Seeing as how I wanted to start painting right away, and I had already been so patient {wink, wink}...
I decided to work around the little door problem and just leave it on.

Anywho, after some Kilz primer, a couple coats of spray paint to both the table and hardware, black glaze, Polycrylic, {plus some blood (my friends), sweat, and work}...Behold, the finished product:


I was thinking about getting another piece of glass made to put on the top; but I sort of like it how it is now.

Thursday, July 21, 2011

Jewelry Box Re-do {A Mini Makeover}

I have never liked my jewelry box.  
It's always been the wrong color. 
So I fixed it.

I gave it a makeover.
It's a mini-me of my dresser now.
I LOVE it! :)

Silly me, I didn't take a before picture...or I can't find it...
I did find a similar one online though:
This isn't my exact jewelry box, but the color and the brassy knobs are IDENTICAL to what I had.

I started my "mini makeover"
I took off the mini-hardware with a mini-screwdriver,
taped off the glass,
took out the mini-drawers,
primed everything with Kilz:

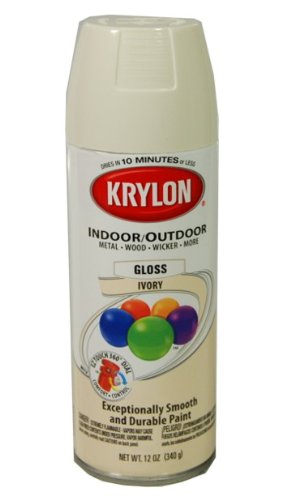
and spray painted Krylon Ivory gloss:

I sprayed the mini-knobs with ORB:

The project wasn't complete until I added some glazey goodness (I used BEHR brand from home depot and mixed 1 part paint to 4 parts glaze):


I didn't take a picture of the "before glaze" jewelry box, but found this identical one online:
Wish they would have had this color when I bought mine...

And the "after glaze" finished product:

It looks great on top of it's master (see here):

It sort of reminds me of when my mom used to make my dolls the same outfit as me...
That was so cool.

My jewelry box finally looks like it belongs after being a misfit for 7 years. (Of course, my whole bedroom used to be a misfit so I can't blame the jewelry box)

I can't even describe how FUN it was to work on this!  It was just soooo...petite. 


Wednesday, July 6, 2011

Ivory Bliss

I found this set of dressers at a consignment shop for a great deal! (see here)
I knew exactly what I wanted to do with them for my bedroom!

I took off all the hardware first.
I love the handles, but I was a couple short!
I did all sorts of research to find out if I could get more or even have some made.
In the end, I found some vintage brass ones on etsy that didn't match exactly but would work perfect for one of the dressers.

Here's the steps I took:
Sprayed the handles ORB
Removed all the drawers (14 TOTAL!)
Washed and prepared them for priming
Spray-primed them with Kilz
Spray-painted a couple coats of Krylon Ivory Gloss
used the same brown glaze from my nightstands
And finally, a few coats of polycrylic!
And that was just the drawers...

I ended up stripping and sanding just the tops of the dressers so I could stain them
I used red mahogany stain so the tops would match my headboard/footboard and tie them together.


I taped the top part off, then primed, painted, glazed and poly'd the rest!
(then did the same thing to the mirror)

I LOVE the way they turned out!


 Here's some up close goodness of the glazed details:

Did I mention how much I LOVE THEM?!

Sunday, July 3, 2011

An Apple a Day...


Renting can pose a challenge for decorating
If you read my "about me" section, you'll find that either my husband or myself, or both have been in school since we were married
We have moved 10 times 
and lived in 5 different states
in 7 & 1/2 years
I am SOOOO sick of WHITE WALLS!

I decided to use my furniture as a way to bring some much needed COLOR to my life and my family's.
So what did I do?
Painted our TV stand a green apple color!
This is the dresser we bought off craigslist before we moved:

 We loved the details and carvings on the drawers!
However, this piece is laminate (lesson learned, don't buy anything until you actually see it!)
There were a few areas that had to be fixed up,
we just used some wood putty:
 I also sanded the top just a little bit, to take off some of the shine so the paint would stick to it better
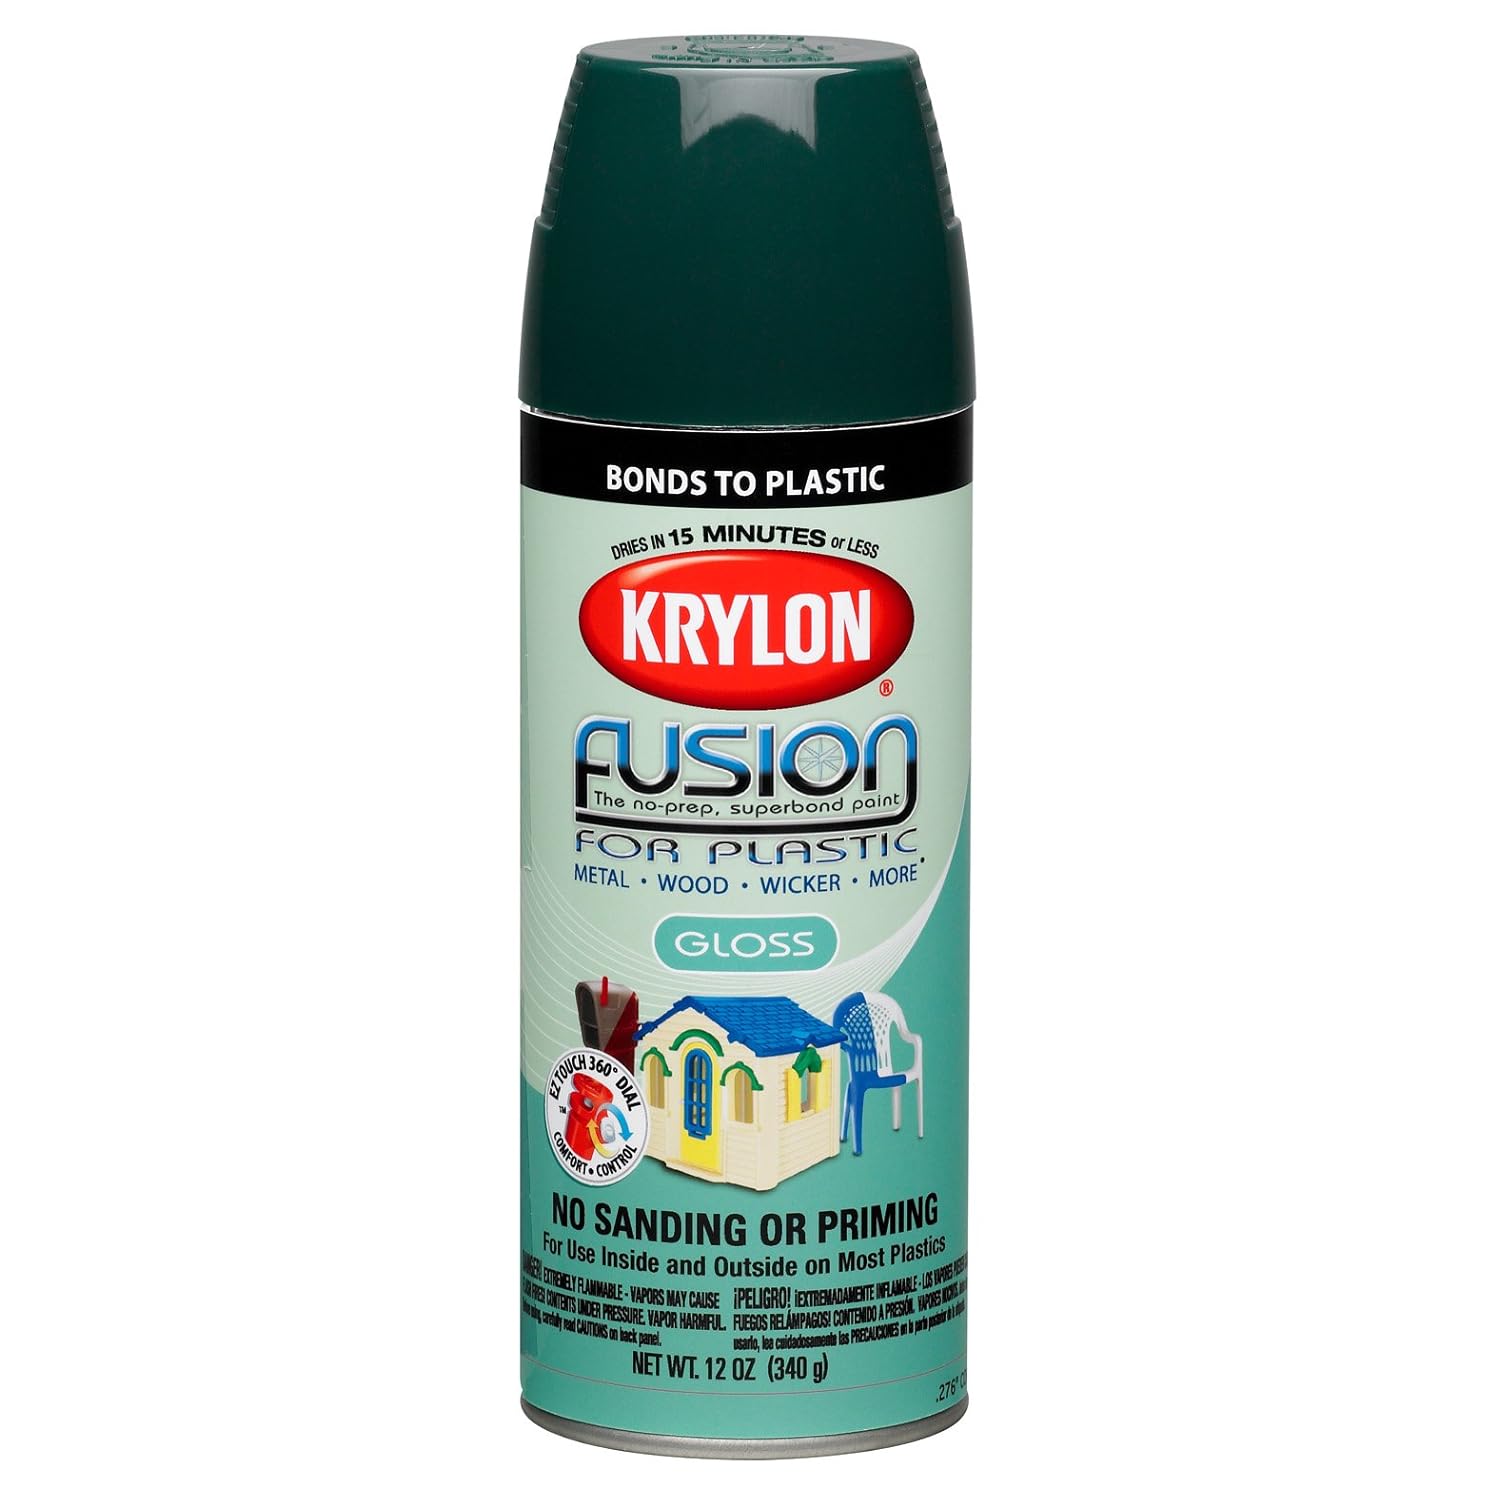
I was nervous about painting the laminate and after doing a lot of research finally decided to use:
Krylon's Fusion For Plastic spray paint
With this stuff, you don't need to prime it first
I sprayed everything but the drawers with black gloss.

The drawers had knobs that were attached 
Obviously, not the originals because
1) they were single knobs and there were 2 holes in the drawers, so it was off centered
2) they didn't match at all

I couldn't find any knobs that had the look I was going for
plus, it takes away from the details on the drawers
They open fine without them, so...
I filled in the holes with putty!

 I primed the drawers with 2 coats of Kilz
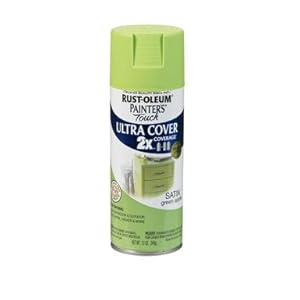
Then painted a couple coats of this:
It looked good (wish I had a picture) but the final step of glazing would bring the whole look together

I glazed the drawers black:


Ready for the big reveal?
How about another before picture first?


and AFTER:

It's honestly taken a bit of time to grow on me,
but I LOVE it now!
FYI: not having handles on it actually prevents my daughter from getting into it and pulling everything out!
I also love using a dresser as a TV stand, there is so much storage and it's all HIDDEN :)

Saturday, July 2, 2011

Lucky Find?

Some people would call me lucky.
My husband and I have won a reasonable amount of things in our lifetime
(in fact, the hubsters even started a list -haha)

But a big part of luck is being in the right place at the right time.

After we moved to Utah I was still on a furniture hunt
(even though our garage was filled with to-do projects)

We stopped by a consignment shop
it was filled with beautiful furnishings,
most of which had high price tags and work already done

but in the back corner of the shop there was a dresser set
a tall one, a long one, and a big mirror
the price tag on each piece said $100

This is what I was looking for
made by Thomasville, solid wood, all drawers were functioning, 
but $200 was too steep for me

What's that Mr. Salesman? 
You'll give me the whole set for $100?
YES!
It was my lucky day!

See for yourself:


These babies are going to look awesome in my Master Bedroom!
Related Posts Plugin for WordPress, Blogger...