Showing posts with label glazing. Show all posts

Friday, October 7, 2011

Hi friends!

I need to finish some projects!  I seriously have at least 20 that I'm "working on" that I can't wait to show you.

So for now, I'm just going to share a little children's rocking chair that I helped a friend with (umm, a year ago!?).  She is an awesome photographer and is always on the lookout for different props.  We found this at a local antique/consignment shop for a great deal!  I think we were so excited to begin working on it that we forgot to take a before picture! oops.

She wanted to go for something fun and bright.  Of course yellow was the answer! 


I toned it down just a bit by adding some black glaze, which also makes it look more like an antique.  I love the final product, and it looks great in pictures! See?


Now I need to find a little rocking chair for myself {by myself I mean my daughter}! 

Happy Friday!

Tuesday, September 27, 2011

Shadowbox Earring Holder

There are about a bazillion earring holders in blogland/cyberworld.  I was going to make one out of a frame and wire mesh like many people do, but then I found something BETTER! {In my humble opinion}


I honest to goodness can't remember if I found this at Marshall's or TJMaxx, LOVE them both!  And you could probably find something like this at either one.  It's a shadow box with a hinge door that opens and has a magnetized close.  The inside is a thin foam covered with burlap.  I bought 2 of them! {I have a lot of earrings...}

It was white when I bought it and I spray painted it Coral Isle to match my lamps and bring some more color accent to the room.


I also glazed the details with a dark brown:


I hung {most} of my earrings in the 2 shadowboxes.  I used pins for some of the hoop ones that don't have hooks.


I hung them in the corner of my bedroom right next to my necklace holder.  It is so handy to have them in close proximity.


I love that I can see right through the glass; do you ever pick out your accessories first, then chose an outfit? I do that sometimes, it's a good way to think outside the box a little bit and put together new combinations...


It opens so easily and I don't have to worry about earrings getting tangled, rifling through them to find a mate, or getting lost. Plus, it doesn't take up room on the dresser.


 Seriously, it's so handy if you're looking for a cute easy way to display/store your earrings!  I love it!


Linking to:
Southern Lovely
Someday Crafts 
Lil Luna 
Blue Cricket Design 
Domestically Speaking 
Sew Much Ado 
Todays Creative Blog 
Nap Time Crafters 
Finding Fabulous 
Remodelaholic 
Tatertots and Jello 
Design Dazzle 
504 Main 
Young and Crafty 
Whipperberry 
Redoux 
Be Different Act Normal 
The Gingerbread Blog 
Lil Luna 
Restore Interiors 
Domestically Speaking 
Blue Cricket Design 

Thursday, September 1, 2011

Renovated Bread Box

I like a clean counter.

As a pharmacist I have worked with some messy technicians, and some messy pharmacists. It DRIVES me CRAZY! I like to joke with one of my technicians at work about leaving empty bottles on the counter and always cleaning up after her.  One thing that I am very particular about is keeping order, especially at work. {Have you guessed I'm your typical "type A"}

I try to keep order at home too, although it proves to be a bit more difficult. 1) I'm not getting paid; and 2) I have professional "messer uppers" that live with me.  I'm not one that likes a lot of things or appliances out on the counter.  I feel like it can get cluttered quickly; especially if you have a smaller kitchen. I don't function as well when I don't have space to work. or think.

I'm not saying I'm clutter free, because I'm far from it.  It's something I fight with every. single. day. just like everyone else.  I like to hide clutter/things/necessities as much as I can with something that is functional and pretty.

I'm not saying bread is clutter, but I do like to hide it on my counter in my pretty bread box.

I picked up this bread box at a thrift store for $4 dollars.

My usual weapon of choice to paint with is spray paint, but I couldn't get the door off this thing for the life of me!
So I used some plain old acrylic craft paint with a sponge brush:

I didn't sand it, I didn't prime it, I went straight to painting! (luckily I remembered to take a before picture before I got too carried away)

I gave everywhere 2 coats of paint; except the middle section...

There, I decided to add some scrapbook paper with modge podge.

I gave the front of the box a quick glazing with some black glaze.

Spray painted the wooden knob with Oil Rubbed Bronze.
Sealed it all with a few coats of Polycrylic...
And was left with this:

 I love how the scrapbook paper is the same shape as the cut out wood design.
I don't even think I planned it that way.

 I love how the wood grain still shows through the paint


My toaster fits perfectly on top of it.
Which means there's less counter space being taken up by multiple items.
Which means less clutter.
Which means SANITY!

Wednesday, August 3, 2011

Jewelry Stand/Holder/Keeper

I don't know what this is:
 Could be a cake stand, but it's kinda small for that.  And not durable enough.
I think it's a candle holder, like for a big candle, or maybe a few smaller ones?
Whatever it may be, I picked it up at a thrift store by my house
(which is out of business now, boo)
I really love how ornate it is.
But, I'm not a gold person.
I decided I wanted to use it in my bedroom as a jewelry holder.
At night when I'm too lazy tired to hang my jewelry back in place, it works very nicely.
It makes the jewelry feel like it belongs there.

I decided to paint it the same color as my lamps
I love the coral color with the aqua, cream, and brown in the room.

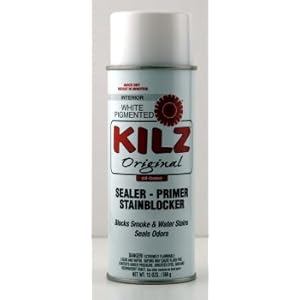
I primed with Kilz,
Spray painted it with Krylon Coral Isle,
and of course had to glaze it to make those ornate details pop.

It also accommodates some of my larger odd-shaped earrings that don't fit with my other ones.
Isn't it purdy?

Monday, August 1, 2011

Side Table Save

This side table is one of my great Craigslist finds before moving from Las Vegas.
I bought it because I fell in love with the detailed scroll carvings; however, the green/gold just wasn't me.
Here's some before pictures:
 Look at the details!
 The handles on this piece were the same greeny-gold color.
Sorry, no picture.
There was glass built in over the top.
It was somewhat scary to get it out.  We had to break it (my best friend ended up smashing it with a hammer)
Then we carefully took all the pieces out.
I think there was only one minor cut in the process (my friend's finger)
I took the hose on the vacuum and sucked all the remaining little tiny pieces of glass out of the nooks and crannies. 


I debated FOREVER about what color to paint this and whether to keep it 2-toned.
I finally decided on a classic white all over.

Since this piece was in great condition, the only prep work I did was:
1) break the glass and remove it
2) remove the handles
3) wipe it down with a damp rag

Normally, I would take off the door and paint it separately...I gave the job to my trusty husband.
Apparently the screws on the door were completely striped, so he got one of the hinges off, but the other one wasn't budging. (that's why the door looks crooked in the pictures, it only has the bottom hinge on)

Seeing as how I wanted to start painting right away, and I had already been so patient {wink, wink}...
I decided to work around the little door problem and just leave it on.

Anywho, after some Kilz primer, a couple coats of spray paint to both the table and hardware, black glaze, Polycrylic, {plus some blood (my friends), sweat, and work}...Behold, the finished product:


I was thinking about getting another piece of glass made to put on the top; but I sort of like it how it is now.

Thursday, July 21, 2011

Jewelry Box Re-do {A Mini Makeover}

I have never liked my jewelry box.  
It's always been the wrong color. 
So I fixed it.

I gave it a makeover.
It's a mini-me of my dresser now.
I LOVE it! :)

Silly me, I didn't take a before picture...or I can't find it...
I did find a similar one online though:
This isn't my exact jewelry box, but the color and the brassy knobs are IDENTICAL to what I had.

I started my "mini makeover"
I took off the mini-hardware with a mini-screwdriver,
taped off the glass,
took out the mini-drawers,
primed everything with Kilz:

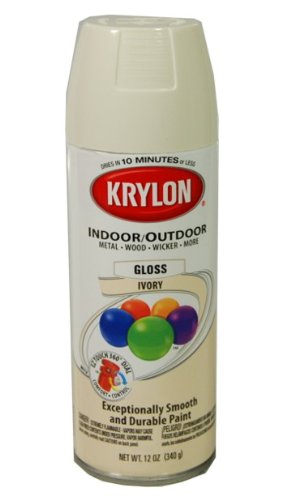
and spray painted Krylon Ivory gloss:

I sprayed the mini-knobs with ORB:

The project wasn't complete until I added some glazey goodness (I used BEHR brand from home depot and mixed 1 part paint to 4 parts glaze):


I didn't take a picture of the "before glaze" jewelry box, but found this identical one online:
Wish they would have had this color when I bought mine...

And the "after glaze" finished product:

It looks great on top of it's master (see here):

It sort of reminds me of when my mom used to make my dolls the same outfit as me...
That was so cool.

My jewelry box finally looks like it belongs after being a misfit for 7 years. (Of course, my whole bedroom used to be a misfit so I can't blame the jewelry box)

I can't even describe how FUN it was to work on this!  It was just soooo...petite. 


Wednesday, July 6, 2011

Ivory Bliss

I found this set of dressers at a consignment shop for a great deal! (see here)
I knew exactly what I wanted to do with them for my bedroom!

I took off all the hardware first.
I love the handles, but I was a couple short!
I did all sorts of research to find out if I could get more or even have some made.
In the end, I found some vintage brass ones on etsy that didn't match exactly but would work perfect for one of the dressers.

Here's the steps I took:
Sprayed the handles ORB
Removed all the drawers (14 TOTAL!)
Washed and prepared them for priming
Spray-primed them with Kilz
Spray-painted a couple coats of Krylon Ivory Gloss
used the same brown glaze from my nightstands
And finally, a few coats of polycrylic!
And that was just the drawers...

I ended up stripping and sanding just the tops of the dressers so I could stain them
I used red mahogany stain so the tops would match my headboard/footboard and tie them together.


I taped the top part off, then primed, painted, glazed and poly'd the rest!
(then did the same thing to the mirror)

I LOVE the way they turned out!


 Here's some up close goodness of the glazed details:

Did I mention how much I LOVE THEM?!

Sunday, July 3, 2011

An Apple a Day...


Renting can pose a challenge for decorating
If you read my "about me" section, you'll find that either my husband or myself, or both have been in school since we were married
We have moved 10 times 
and lived in 5 different states
in 7 & 1/2 years
I am SOOOO sick of WHITE WALLS!

I decided to use my furniture as a way to bring some much needed COLOR to my life and my family's.
So what did I do?
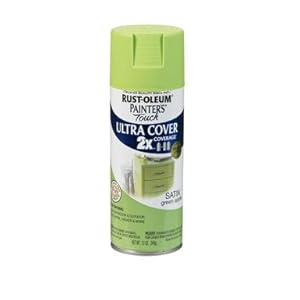
Painted our TV stand a green apple color!
This is the dresser we bought off craigslist before we moved:

 We loved the details and carvings on the drawers!
However, this piece is laminate (lesson learned, don't buy anything until you actually see it!)
There were a few areas that had to be fixed up,
we just used some wood putty:
 I also sanded the top just a little bit, to take off some of the shine so the paint would stick to it better
I was nervous about painting the laminate and after doing a lot of research finally decided to use:
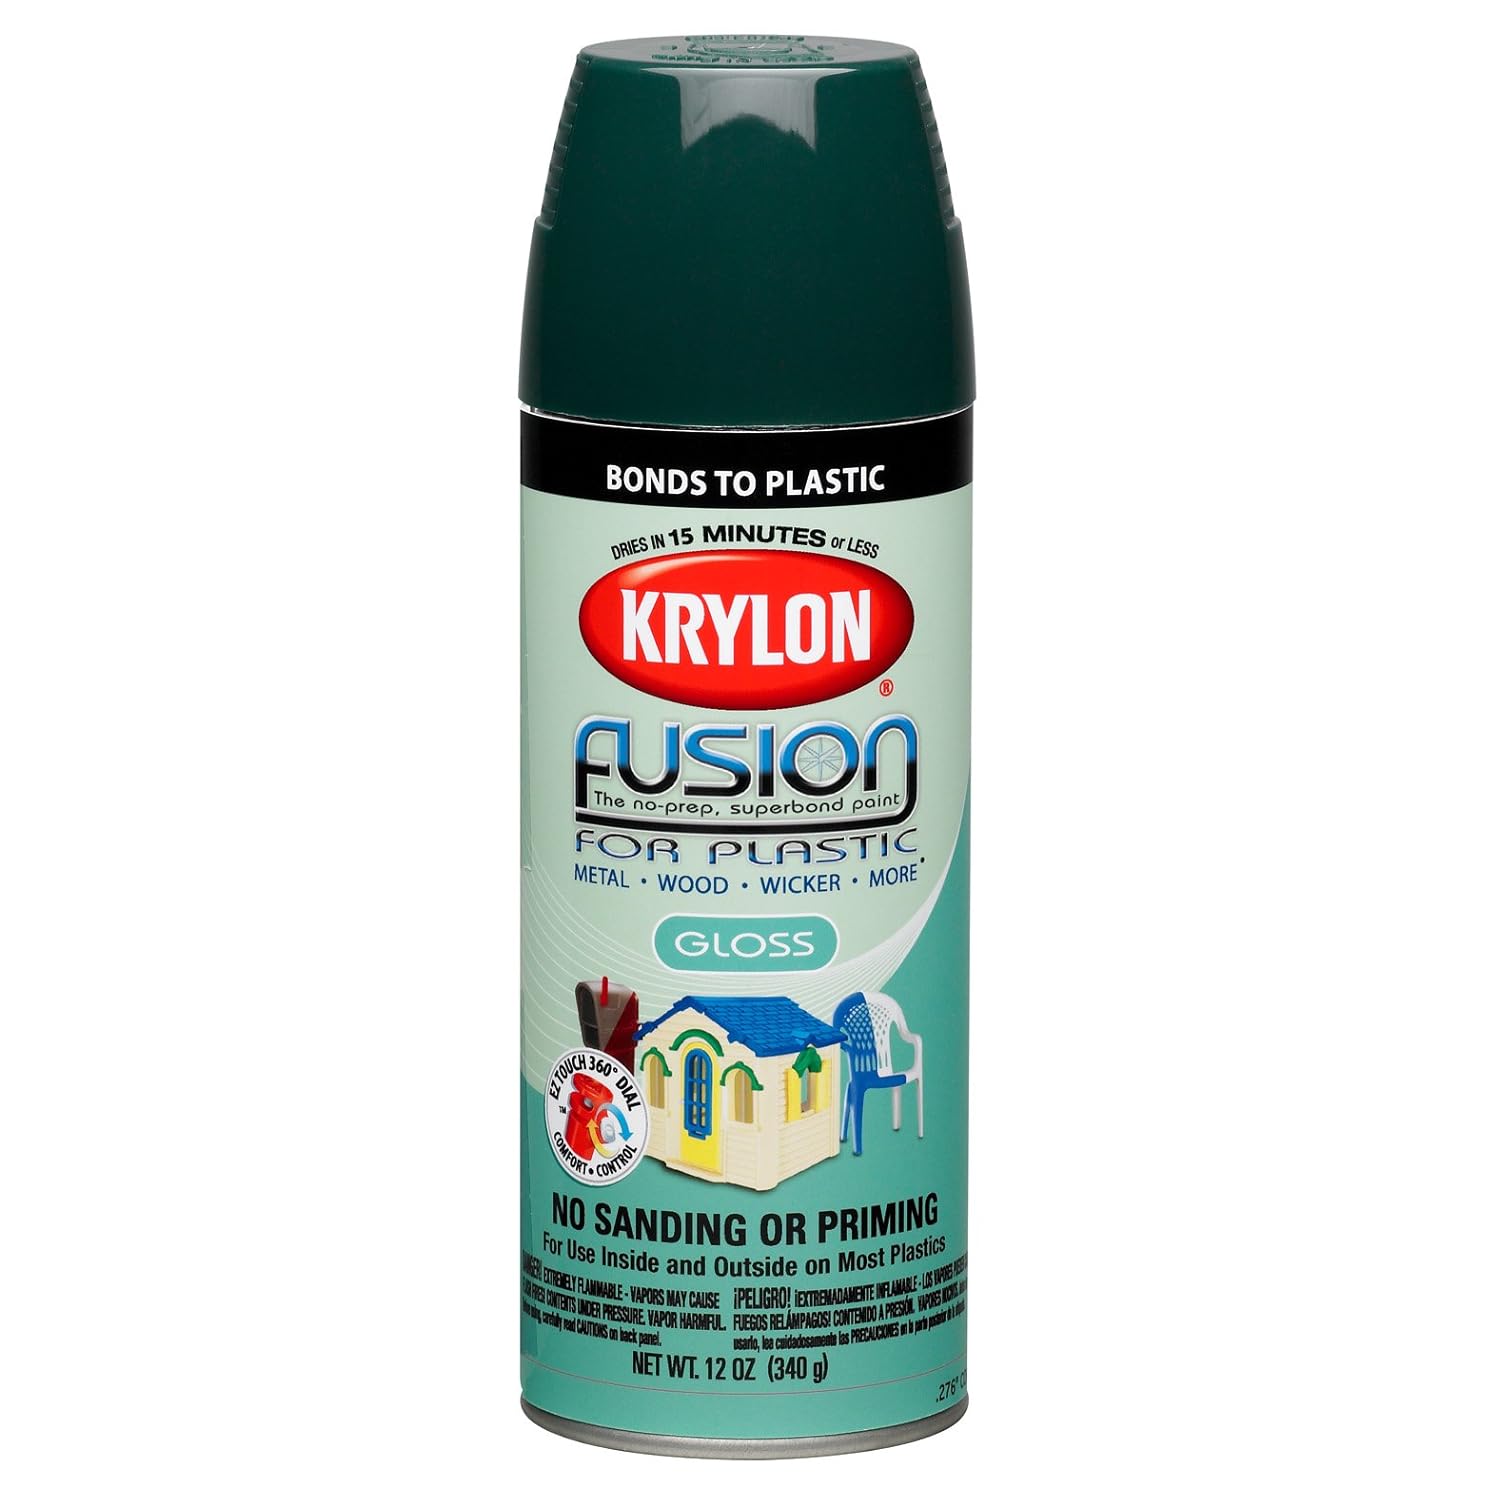
Krylon's Fusion For Plastic spray paint
With this stuff, you don't need to prime it first
I sprayed everything but the drawers with black gloss.

The drawers had knobs that were attached 
Obviously, not the originals because
1) they were single knobs and there were 2 holes in the drawers, so it was off centered
2) they didn't match at all

I couldn't find any knobs that had the look I was going for
plus, it takes away from the details on the drawers
They open fine without them, so...
I filled in the holes with putty!

 I primed the drawers with 2 coats of Kilz
Then painted a couple coats of this:
It looked good (wish I had a picture) but the final step of glazing would bring the whole look together

I glazed the drawers black:


Ready for the big reveal?
How about another before picture first?


and AFTER:

It's honestly taken a bit of time to grow on me,
but I LOVE it now!
FYI: not having handles on it actually prevents my daughter from getting into it and pulling everything out!
I also love using a dresser as a TV stand, there is so much storage and it's all HIDDEN :)
Related Posts Plugin for WordPress, Blogger...